Showing posts with label white. Show all posts

Tuesday, May 28, 2013

Love Notes, Bug Juice, & Smamfa - GG Couture

Today, I will show you three gorgeous polishes I worked with GG Couture to create. 

To create your own or purchase from the shop, check out GG Couture nails.

www.ggcouturenails.com

Each of the three polishes had fabulous application and dry time. No need for fishing out glitter!

First, Love Notes. This was inspired by this photo:
I took the photo. Don't steal it. 

I layered two coats of Love Notes over a beige base.


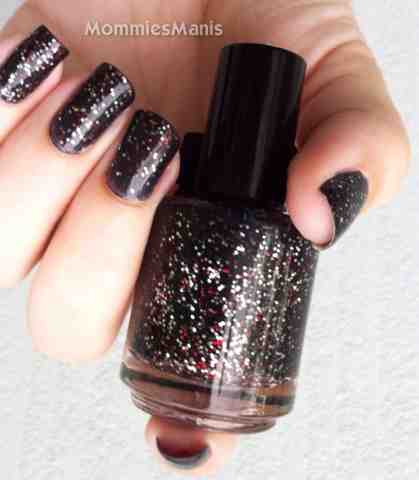
Second is Smamfa. This one is named after my younger sister's nickname, created for her. It's her favorite colors and made to match a quilt I created her. 

I used two coats of Smamfa over a medium gray base.

I also painted the underside of my nails red.

The third polish was created for my youngest sister, and it shares her nickname, Bug Juice. It is her favorite colors, and again, matches the quilt I made her.

I wore three coats over white.


They all smell divine.

Aren't they fabulous?!

Monday, May 13, 2013

Starkweather Pops - Chirality

I am honored and very excited to be bringing you another set of four reviews! Amanda of Chirality Nail Polish asked me if I would be willing to review the second half of her cereal killer collection!

Of course, I said yes! She was my first sponsored review ever, with the first half of the collection!  So, she was a sweetheart and gifted them to me for my honest review and swatches. 

(http://mommiesmanis.blogspot.com/2013/01/chirality-cereal-color-collection_28.html) I have been excited to show these off ever since she emailed me last week! Like the first half of the set, these have quirky names. I'm going to bet when they are listed on the site they will have some epic descriptions like the last ones.


I'm going to do four installments so each gets its own post. Otherwise it would be pretty photo heavy

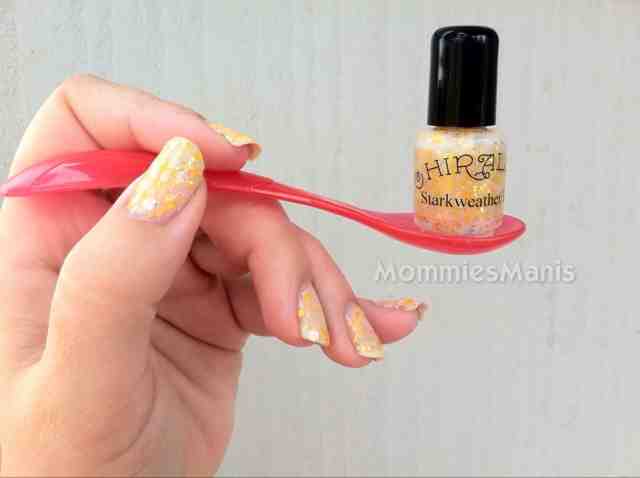
Up next is Starkweather Pops. 


I really like this one.  It's another cereal in milk type polish with chunky golden yellow glitters in multiple shapes and sizes. There's more holo action in this one that again, my camera boycotting capturing. There's also big white hexes in it. I didn't even realize it until I polished one to my nail!

This one went on easier than the others on the third coat, and was opaque at that point. The glitters didn't seem to clump for me and laid nicely.

Somehow I forgot to put on top coat for the photos. Whoopsies!

This one dried well also. I don't know if it's a bit thinner than Gacy Charms maybe and that's why?

This isn't a colored I would lean to automatically, but I LOVE it and wouldn't mind owning the full size some day. And it captured the breakfast feel well, apparently, because after taking these photos I really wanted to eat cereal... 

This is a winner, for sure.


Apple Jack the Ripper - Chirality

I am honored and very excited to be bringing you another set of four reviews! Amanda of Chirality Nail Polish asked me if I would be willing to review the second half of her cereal killer collection!

Of course, I said yes! She was my first sponsored review ever, with the first half of the collection!  So, these polishes were provided to me free of charge for my honest review and swatches. (http://mommiesmanis.blogspot.com/2013/01/chirality-cereal-color-collection_28.html

I have been excited to show these off ever since she emailed me last week! Like the first half of the set, these have quirky names. I'm going to bet when they are listed on the site they will have some epic descriptions like the last ones.


I'm going to do four installments so each gets its own post. Otherwise it would be pretty photo heavy!

Part two is "Apple Jack the Ripper."


This is another milky white base with various shapes, sizes, and colors of green hued glitter. There's a pale chartreuse and a large holo teal circle, among others. It caught my eye first, because I love green! 

It's so much fun. The variety in shape and colored of glitter works really well together. The milky white takes on almost a minty hue as you build layers. I used three to test opacity. This is loaded with glitter, so application can get a little hard as you build. I had no issues with the first or second but the third got a little gloppy looking. I smoothed it over with top coat though and loved it.  I was worried I wouldn't get any of the large circles because the first coat provided none, but I let it rest upside down in between and had no issue the second coat!

Unfortunately, the holo-flares escaped my camera phone today, but trust me, they are there and very pretty!